| |
|
|
|
Camera |
 |
Photography is one
of my hobbies and I wanted to find a way to take
pictures of some of the great sights we see
while riding our bike. The problem was, my
primary camera is a Canon digital SLR which
is far to heavy (and expensive) to mount on
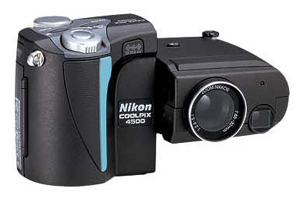
bicycle handlebars! The first camera that I used
was a Nikon Cool Pix 4500. This camera made a
nice "bike cam," in fact most of the
pictures on this website were taken with it.
One great feature is that the
portion of the camera housing the lens rotates
(see picture to the left). With the camera
mounted on the bike I can take pictures of
what is in front of us or rotate the lens 180
degrees (toward the back) and take pictures of us with scenery in
the background. Unfortunately, age started
taking it's toll on that camera. |
|
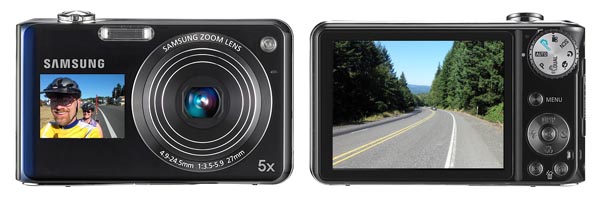
| In looking for a
replacement, I still wanted a camera that would
allow me to take our "self portraits," and yet
be small, light, and relatively inexpensive.
I ended up getting a Samsung TL210. The
primary reason was the second LCD screen on the
front. In some ways it doesn't work as
well as my old one, but it was the best I could
find that met all my criteria. |
 |
|
|
|
|
Mount |
 |
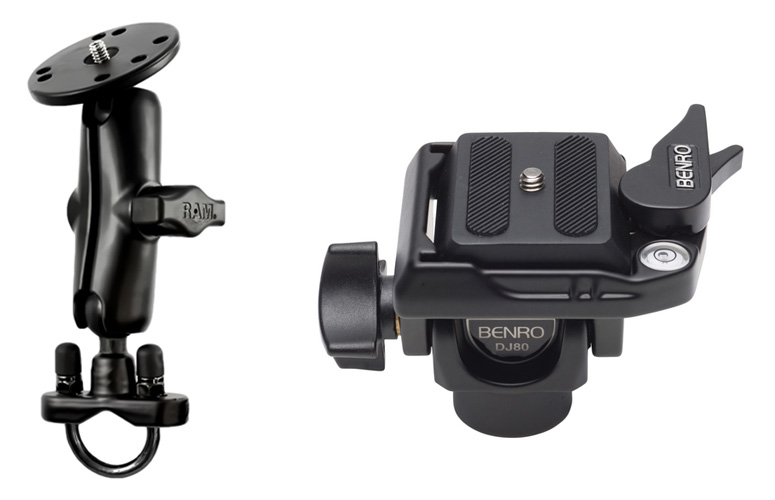
The only
stock camera mounts I could find do
not allow for easy camera adjustments while riding the bike. Specifically
the ability to pan from side to side. If
you want a fixed mount, models like those made
by
Ram Mounts (far left) would work fine.
But there are often sights I want to
capture that are not directly in front of us.
I also like to take "self portraits" of the two
of us while we're riding, which means I need to
rotate the camera around. I decided
I really needed some of the the functions of a
tripod. The unit I bought is a DJ-80 monopod
mount made by
Benro (near left). After finding the
right mount, then I just needed to figure out
how to fabricate a way to attach it onto my
handlebars!
|
|
 |
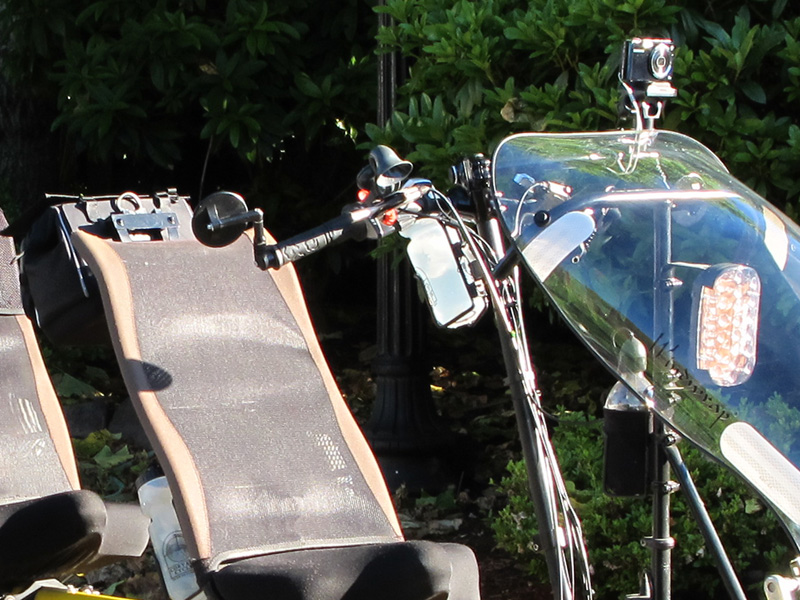
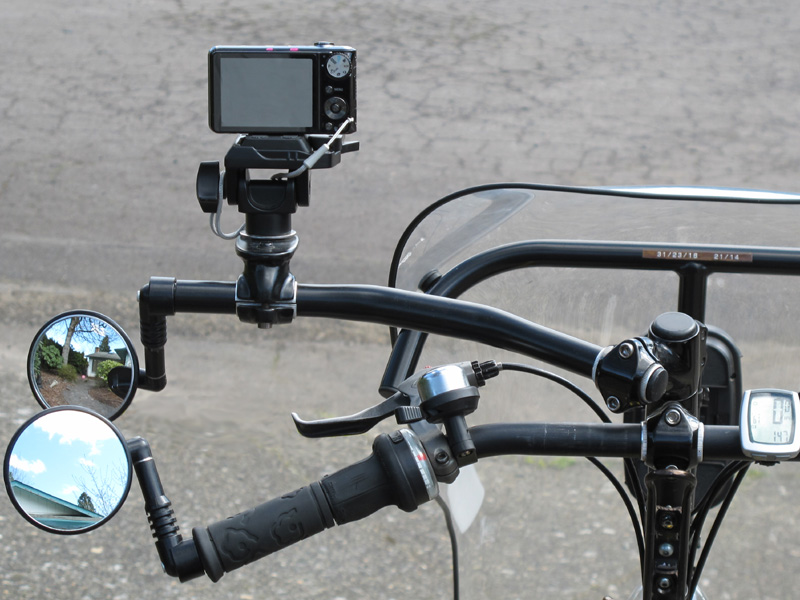
My big challenge was
finding the right place to put the camera.
It had to be high enough to shoot above the
fairing, but couldn't block my view of the road.
It also needed to be far enough to one side so
when shooting our "self portraits" we're both in
the picture. Plus, it needed to be in easy
reach since I'm taking pictures while riding
down the road. Once I settled on the right
location, I just had to play around with various
hardware to make it work. |
 |
|
|
|
| Initial
Concept |
|
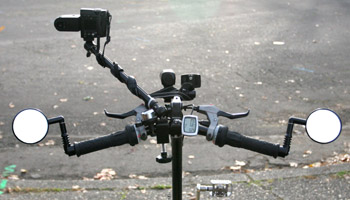 |
At first I wasn't
sure the bike cam idea was going to work at all.
I thought the vibrations would be so bad that at
least half of the pictures would be blurry.
What I discovered was that the shutter speed was
high enough so that only about 10 - 20% of the images
are unusable. The picture to the left was
my original handlebars with my trial camera
mount. It was a clamp-on mount that I
found at a local photography store. I
clamped it on the handlebars and then used
electrical tape and "zip ties" to secure it
further. It did it's job, it proved that
my idea would work! The system above is
actually my the third or fourth generation
camera system, but it all started this this one. |
|
|
|
|